


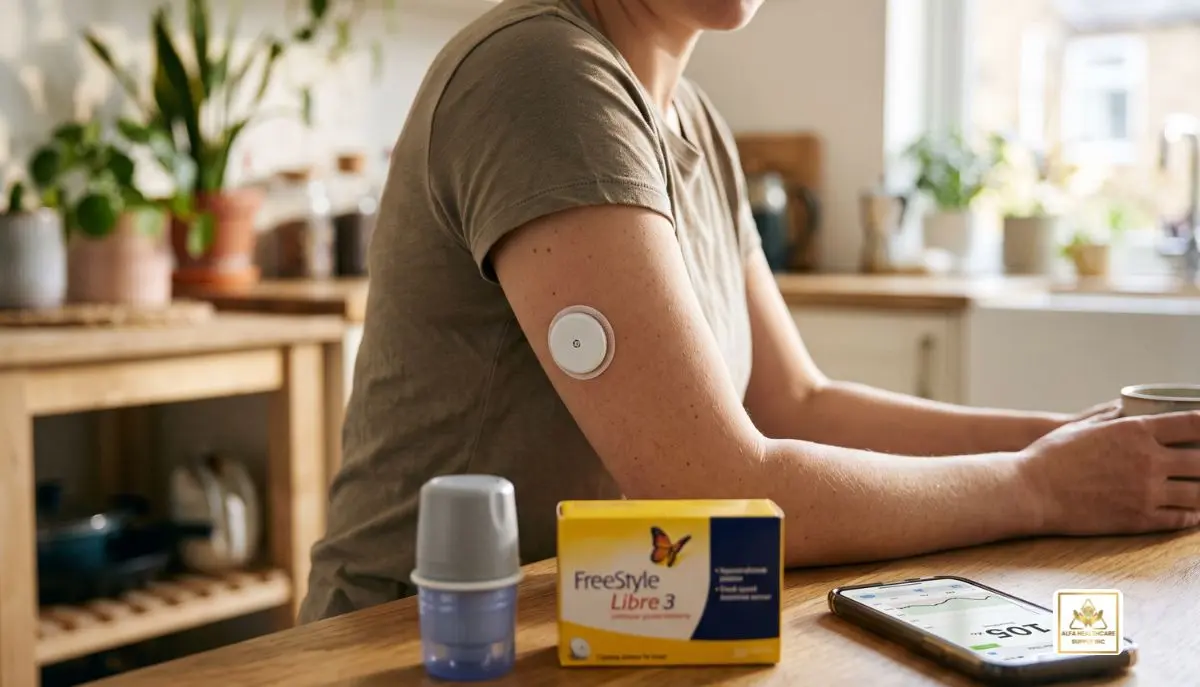
FreeStyle Libre 3 Sensor Sites
Choosing the right place for a continuous glucose monitoring (CGM) sensor can make everyday diabetes management more comfortable. If you use a FreeStyle Libre 3 system, you may wonder which freestyle libre 3 sensor sites are best, how to prepare your skin, and what areas you should avoid.
The good news is that choosing your sensor location does not have to be complicated. The important thing is to follow the manufacturer’s placement instructions and select an appropriate area on the back of the upper arm.
At Alfa Healthcare Supply Inc., we understand that small details can make a big difference when using diabetes supplies. This guide explains freestyle libre 3 sensor sites in simple language so you can feel more confident when preparing for your next sensor application.
Important: Always follow the instructions supplied with your specific FreeStyle Libre 3 sensor and the advice of your healthcare professional. Sensor placement requirements can vary between FreeStyle Libre products and markets.
What are the Recommended FreeStyle Libre 3 Sensor Sites?
The recommended freestyle libre 3 sensor sites are on the back of the upper arm. Abbott’s instructions state that the sensor should be applied only to the back of the upper arm and that the selected area should generally remain flat during normal daily activities.
This means you should not simply choose any convenient location on your body.
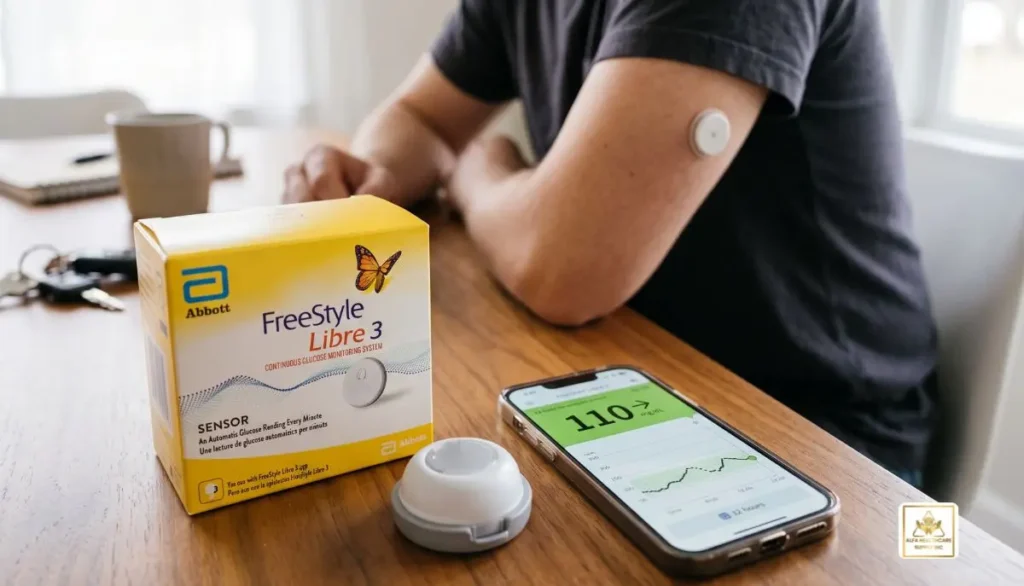
The back of the upper arm is selected because it provides an appropriate area for sensor placement while allowing the sensor to remain attached during normal movement.
When choosing among possible freestyle libre 3 sensor sites, look for an area that:
- Is on the back of your upper arm
- Stays relatively flat during normal movement
- Is free from scars, moles, lumps, and stretch marks
- Is clean and completely dry
- Is away from insulin injection sites
- Has enough space for the sensor adhesive to make good contact with your skin
If you are unsure whether a particular location is appropriate, ask your healthcare professional.
Why Choosing the Right Sensor Site Matters
A CGM sensor stays attached to your skin for an extended period, so placement deserves a little attention.
The right freestyle libre 3 sensor sites can help you avoid unnecessary discomfort and may help the adhesive remain securely attached.
Abbott specifically recommends avoiding areas with scars, moles, stretch marks, or lumps. It also recommends selecting an area that does not bend or fold significantly during normal activities.
Think about your everyday routine before applying the sensor.
For example, if one part of your upper arm frequently rubs against clothing, equipment, or another surface, another suitable area may be more practical.
Can You Put a FreeStyle Libre 3 Sensor on Your Abdomen?
You may see people online discussing different CGM placement locations. However, you should not assume that a location used by another CGM or another person is approved for your FreeStyle Libre 3 sensor.
For the FreeStyle Libre 3 system, Abbott’s instructions specify application on the back of the upper arm. Abbott cautions that using the sensor in other areas may result in improper sensor function.
Therefore, when considering freestyle libre 3 sensor sites, stay with the manufacturer’s approved placement instructions for your specific product.
Should You Switch Arms?
Yes, changing locations can be helpful.
You should avoid repeatedly applying the sensor to exactly the same spot. Abbott recommends changing the application site between sensors so the skin has an opportunity to recover and to help reduce discomfort or skin irritation.
A simple routine can make this easier.
For example:
Sensor 1: Back of right upper arm
Sensor 2: Back of left upper arm
Sensor 3: A different appropriate area on the right upper arm
The goal is not to follow a complicated pattern. The goal is to avoid repeatedly stressing the same piece of skin.
Avoid These Areas When Choosing Sensor Sites
Not every part of the upper arm is equally suitable.
When selecting freestyle libre 3 sensor sites, avoid areas containing:
- Scars
- Moles
- Stretch marks
- Lumps
- Irritated skin
- Damaged skin
- Areas that bend or fold significantly
- Areas too close to an insulin injection site
Abbott recommends keeping the sensor at least 2.5 cm (1 inch) away from an insulin injection site.
If your skin is already sore, red, or irritated, consider selecting another appropriate location rather than placing a new sensor directly over it.
How to Prepare Your Skin
Good preparation is one of the easiest ways to improve your sensor application experience.
Before applying the sensor:
1. Wash the Area
Clean the selected area using plain, non-moisturizing soap and water. Then dry the skin with a clean towel. Abbott recommends avoiding products that can leave oily residue on the skin.
2. Clean With an Alcohol Wipe
After washing, clean the selected area with an alcohol wipe.
3. Let the Skin Air Dry
This step is easy to rush, but it matters. Allow the skin to dry completely before applying the sensor.
Moisture, lotion, or oily residue can interfere with adhesive performance.
4. Check the Area Again
Before applying the sensor, make sure your chosen site is clean, dry, and suitable.
If you have significant concerns about your skin or repeated reactions to adhesives, talk with your healthcare professional.
What If You Have Hair on Your Upper Arm?
Some people have more body hair than others. If hair makes it difficult for the adhesive to contact the skin properly, Abbott recommends that the selected sensor site be clean-shaven.
If shaving is necessary, be careful not to irritate the skin. The objective is to create a clean surface for sensor application without causing cuts or irritation.
How to Apply the FreeStyle Libre 3 Sensor
Once you have selected and prepared one of the appropriate freestyle libre 3 sensor sites, follow the instructions provided with your sensor.
The basic process includes:
- Select the back of the upper arm.
- Wash the area with plain soap and water.
- Dry the skin thoroughly.
- Clean the area with an alcohol wipe.
- Allow the skin to air dry.
- Prepare the sensor applicator according to the product instructions.
- Place the applicator over the selected site.
- Apply the sensor as instructed.
- Gently press around the sensor’s edge to make sure it is secure.
- Start the sensor using your compatible app or reader according to the manufacturer’s instructions.
Abbott’s basic application guidance follows this wash, clean, dry, apply, and activate process.
Do You Need to Pinch or Stretch Your Skin?
No.
Abbott specifically states that you should not pinch or stretch the skin when applying the sensor. Instead, select an appropriate area on the back of your upper arm that remains relatively flat during normal activities.
Keeping the process simple can make sensor application less stressful.
How Can You Help Your Sensor Stay in Place?
Even when you choose suitable freestyle libre 3 sensor sites, everyday activities can sometimes put stress on the adhesive.
A few simple habits can help:
- Be careful when putting on or removing clothing.
- Avoid catching the sensor on doorways and furniture.
- Take care when using seat belts.
- After showering, swimming, or bathing, gently pat the area dry.
- Avoid repeatedly touching or pulling the sensor.
- Consider appropriate over-bandage or adhesive products if recommended for your situation.
Abbott also recommends choosing an upper-arm location that reduces the chance of the sensor being knocked during exercise or contact sports.
Can You Exercise With a FreeStyle Libre 3 Sensor?
Many people continue normal daily activities while wearing a CGM sensor. However, exercise can increase the chance of the sensor being bumped, pulled, or exposed to sweat.
When choosing freestyle libre 3 sensor sites, think about the activities you regularly perform.
If you participate in contact sports or activities where your upper arm may frequently hit equipment or another person, select an appropriate location on the back of your upper arm that minimizes this risk.
Always follow the water-resistance and activity instructions supplied with your specific sensor.
What If the Sensor Location Hurts?
A small amount of discomfort can happen with sensor application. Abbott notes that bruising or bleeding may occur because the sensor filament is inserted just under the skin.
However, do not ignore significant or persistent pain, swelling, redness, or other concerning symptoms.
If you experience a problem with the sensor site, contact your healthcare professional and follow the manufacturer’s troubleshooting guidance.
A Simple Routine for Better Sensor Placement
Finding suitable freestyle libre 3 sensor sites can become easier when you use the same basic routine every time.
Choose → Wash → Clean → Dry → Apply → Check
First, choose an appropriate area on the back of your upper arm.
Next, wash and dry the skin.
Then clean the area with an alcohol wipe and allow it to air dry.
Apply the sensor according to the manufacturer’s instructions.
Finally, check that the sensor is securely attached and start it with your compatible device.
This simple routine can help take some of the guesswork out of changing your sensor.
Why Proper Sensor Placement Matters
A CGM is designed to make glucose monitoring more convenient and provide useful glucose information throughout the day. But the sensor needs to be applied correctly to do its job.
Choosing appropriate freestyle libre 3 sensor sites is therefore more than simply finding a comfortable spot.
The location should follow the manufacturer’s instructions, the skin should be properly prepared, and the sensor should be protected from unnecessary pulling or impact.
At Alfa Healthcare Supply Inc., we believe patients and caregivers deserve clear information about the medical supplies they use. If you are purchasing diabetes supplies, understanding how to use and care for them is an important part of getting the most from your equipment.
Final Thoughts: FreeStyle Libre 3 Sensor Sites
Choosing the right freestyle libre 3 sensor sites does not need to be complicated. For the FreeStyle Libre 3 system, the manufacturer’s guidance points to the back of the upper arm as the appropriate application area.
Choose skin that stays relatively flat, avoid scars and irritated areas, keep the sensor away from insulin injection sites, and prepare the skin carefully before application. Most importantly, change locations between sensors rather than repeatedly using the exact same spot.
If you are ever uncertain about sensor placement, skin reactions, or whether a particular location is appropriate for you, speak with your healthcare professional and follow the instructions supplied with your specific FreeStyle Libre product.
Alfa Healthcare Supply Inc. is committed to helping patients and caregivers find reliable diabetes and home healthcare supplies with clear, practical information.
Frequently Asked Questions About FreeStyle Libre 3 Sensor Sites
1. Where should I put my FreeStyle Libre 3 sensor?
The manufacturer’s instructions specify the back of the upper arm as the sensor application site. Choose an area that remains relatively flat during normal activities and avoid scars, moles, stretch marks, and lumps.
2. Can I put my FreeStyle Libre 3 sensor somewhere other than my arm?
Do not use an alternative location simply because you see it recommended online. Abbott states that the FreeStyle Libre 3 sensor should be applied to the back of the upper arm and may not function properly if placed elsewhere.
3. Can I use the same spot every time?
It is better to change the application location between sensors. Switching locations gives the skin time to recover and may help reduce irritation.
4. Can I place the sensor over a scar?
No. Abbott recommends avoiding scars, moles, stretch marks, and lumps when selecting a sensor location.
5. How far should the sensor be from an insulin injection site?
Abbott recommends keeping the sensor at least 1 inch (2.5 cm) away from an insulin injection site.
6. Should I use lotion before applying my sensor?
Avoid applying lotion or other oily products to the application area before attaching the sensor. Clean and completely dry the skin first.
7. What should I do if my sensor keeps falling off?
Review your application technique. Make sure the skin is clean and completely dry, and avoid lotion or oily residue. Also consider whether clothing, exercise, seat belts, or other activities are repeatedly catching the sensor.
If the problem continues, consult the manufacturer’s support resources or your healthcare professional.
Medical Disclaimer: This article is for general educational purposes and is not a substitute for medical advice, diagnosis, or treatment. Always follow the official product instructions for your specific FreeStyle Libre system and consult a qualified healthcare professional with questions about your individual care.