


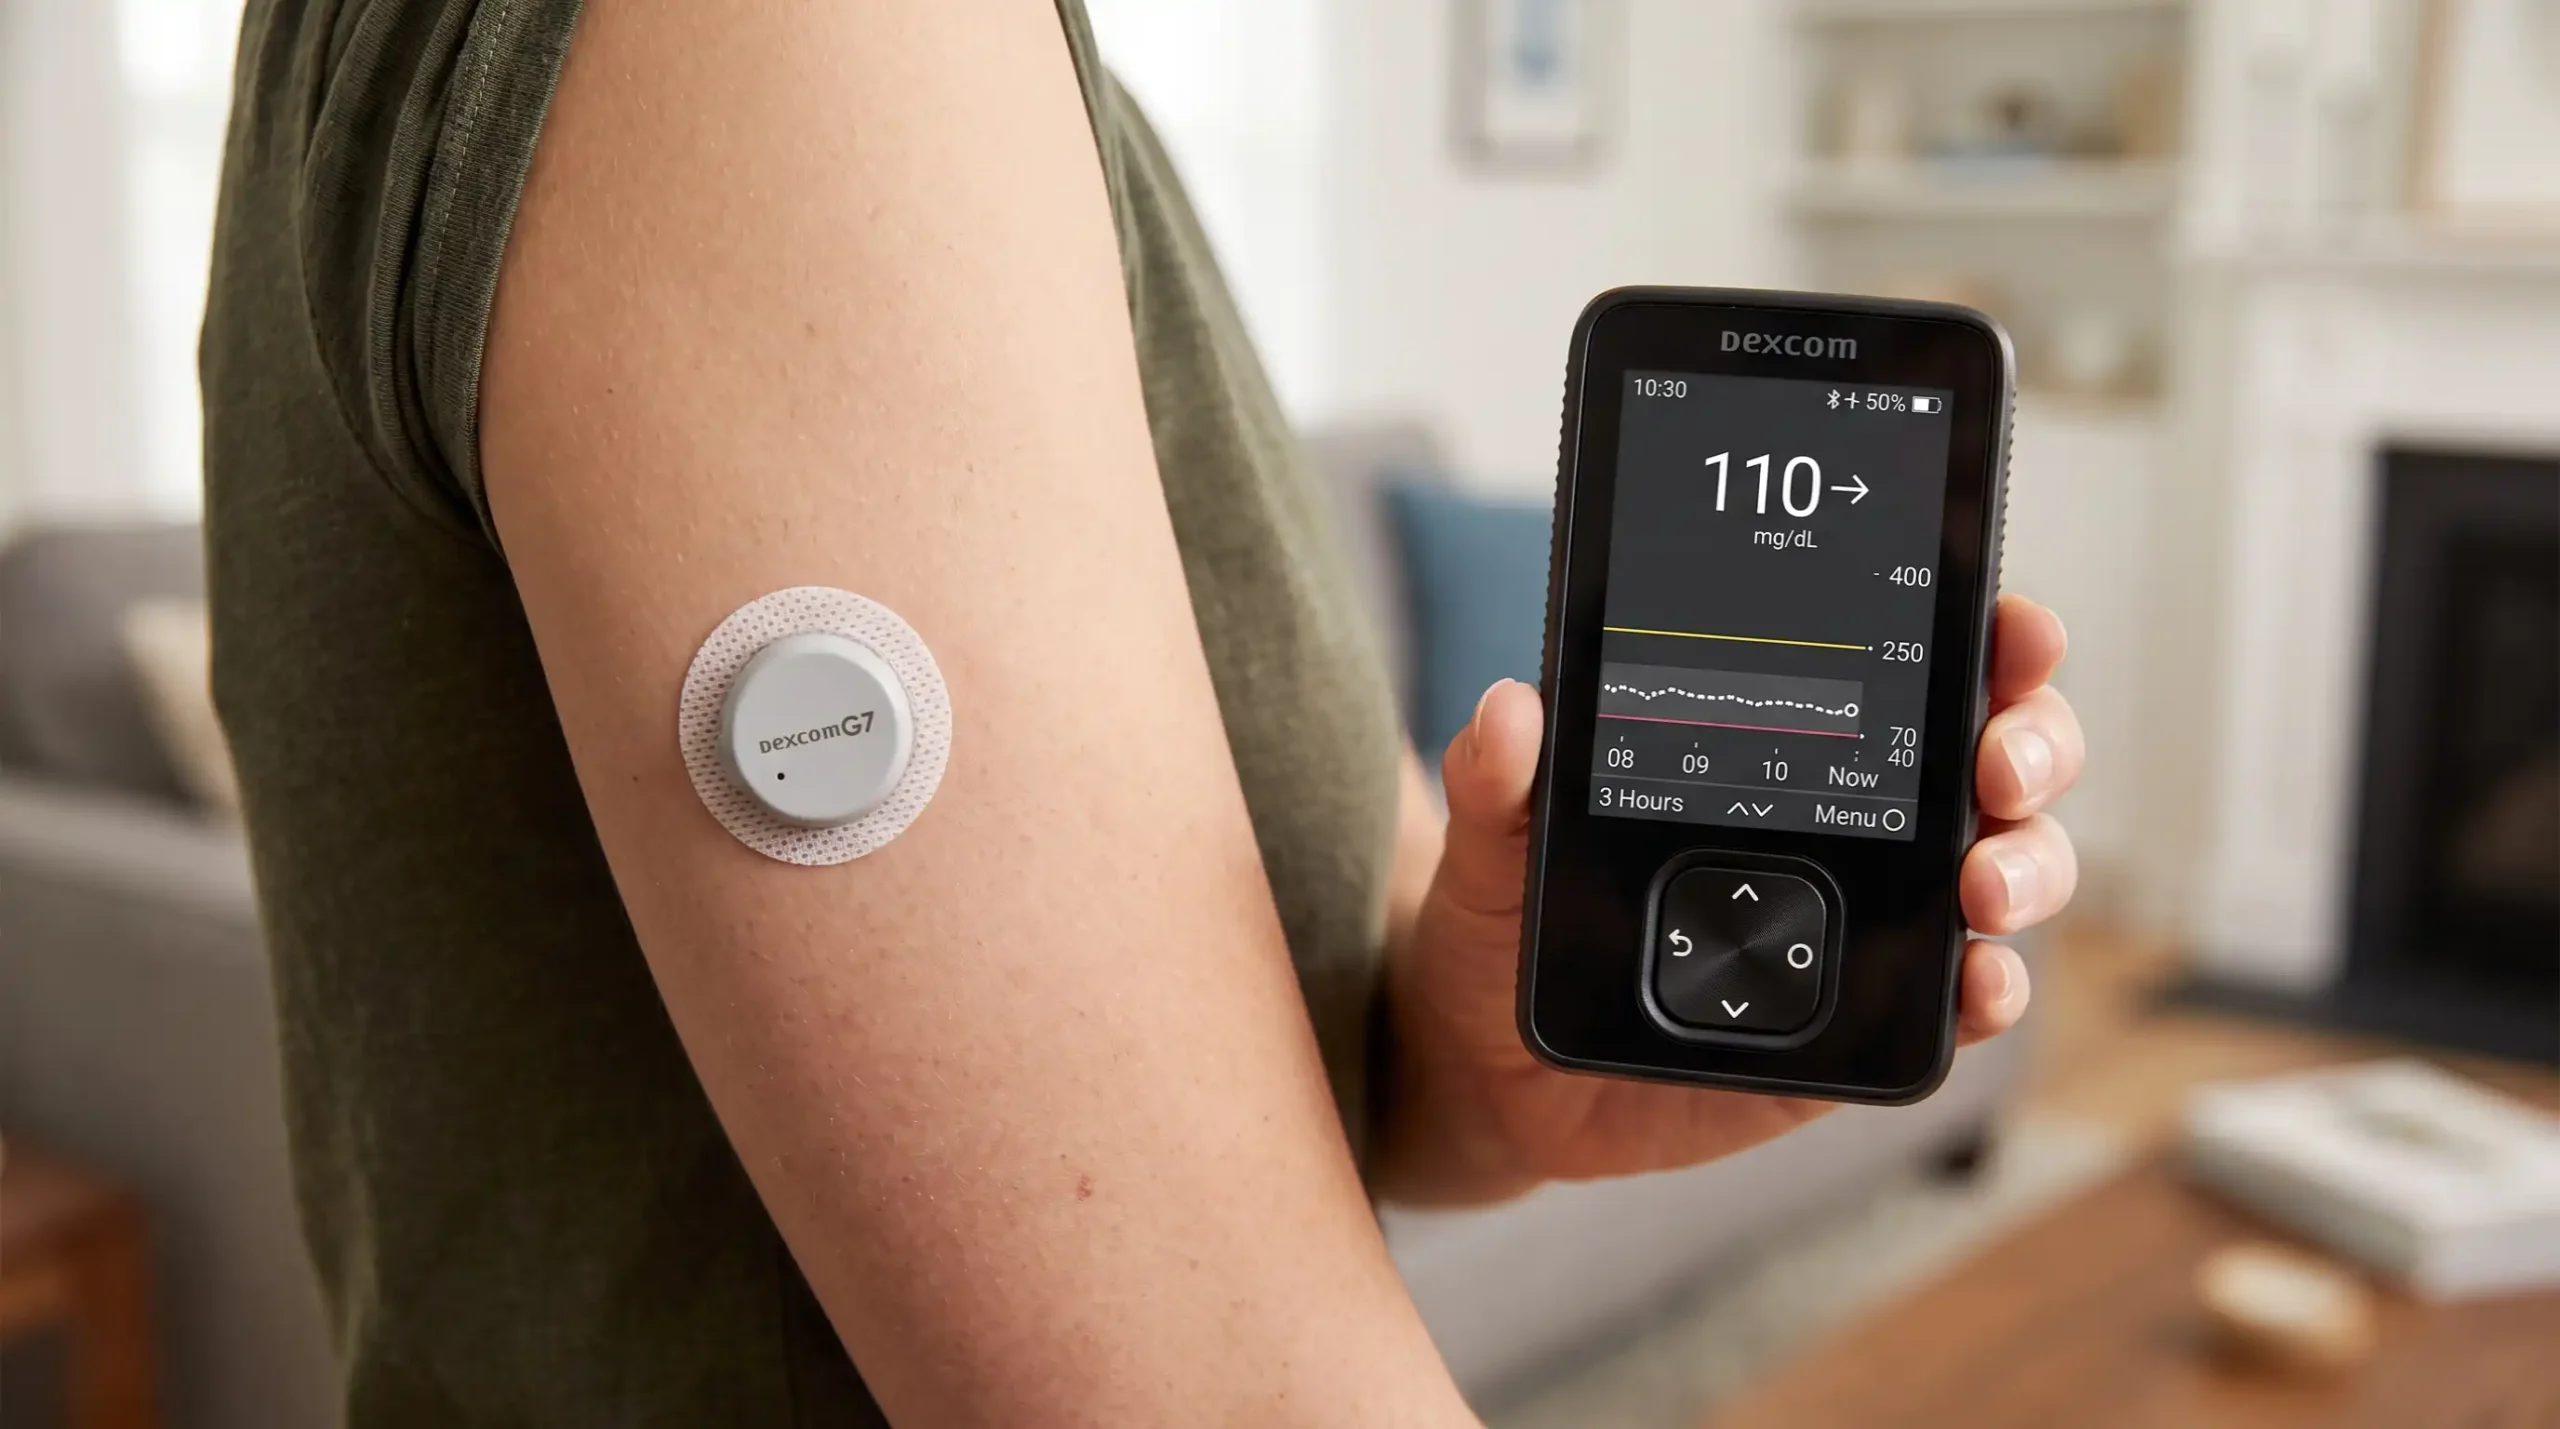
How to Change Dexcom G7 Sensor With Receiver
Living with diabetes often means managing several small routines throughout the day. Checking glucose, keeping supplies organized, paying attention to trends, and changing a continuous glucose monitoring (CGM) sensor can all become part of everyday life. At first, replacing a CGM sensor may feel a little intimidating. After doing it a few times, however, the process can become much more familiar and manageable.
If you use a Dexcom G7 sensor with receiver, knowing exactly what to expect when your sensor session ends can make the change much less stressful. This guide explains how to change Dexcom G7 sensor with receiver, from ending the old sensor session to inserting the new sensor, entering the pairing code, and waiting for warmup.
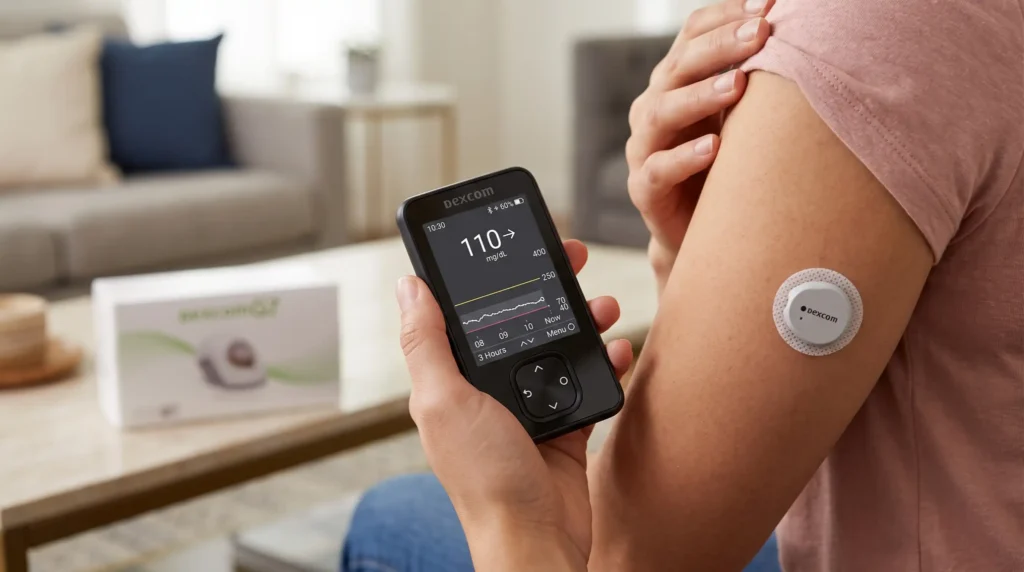
For people looking for diabetes-management supplies and healthcare products, Alfa Healthcare Supply Inc. provides medical equipment and healthcare supply resources. Always follow the instructions supplied with your specific Dexcom G7 system, because product instructions, indications, and available features can change over time.
What Is the Dexcom G7 Sensor With Receiver?
The Dexcom G7 sensor with receiver is a continuous glucose monitoring system designed to provide glucose readings and alerts through a compatible display device. Instead of requiring you to manually check your glucose every time you want a reading, the CGM system continuously monitors glucose and communicates information to the receiver.
The Dexcom G7 system uses an all-in-one sensor. When using the receiver, the sensor communicates wirelessly with that receiver so you can view glucose information, trends, and alerts.
Dexcom states that the standard G7 sensor can provide glucose data for up to 10 days, followed by a 12-hour grace period. After the sensor session and grace period are over, a new sensor is required to continue receiving readings and alerts.
The exact sensor model matters. Dexcom also offers a G7 15 Day sensor in certain markets, so users should follow the instructions for the specific product they have.
How to Change Dexcom G7 Sensor With Receiver
Changing a Dexcom G7 sensor when using the receiver generally involves four main stages:
- End the old sensor session.
- Remove the old sensor.
- Insert the new Dexcom G7 sensor.
- Pair the new sensor with the receiver and complete warmup.
Dexcom’s official receiver replacement instructions follow this general process.
The process is designed to be straightforward, but taking your time is worthwhile. A clean insertion site, correct pairing code, and properly completed receiver instructions can help you avoid unnecessary frustration.
Before You Change Your Dexcom G7 Sensor
A few minutes of preparation can make sensor replacement easier.
Before starting, gather:
- Your new Dexcom G7 sensor applicator
- Your Dexcom G7 receiver
- An alcohol wipe
- A clean, dry area where you can work
- Your official Dexcom instructions, if needed
- A suitable sensor insertion site
It is also helpful to make sure your receiver has enough battery power.
Before handling or inserting the sensor, wash your hands thoroughly with soap and water, then dry them completely. Dexcom’s receiver setup guidance recommends clean, dry hands before starting the sensor insertion process.
A simple preparation routine
Find a comfortable location where you will not be rushed. Have your receiver nearby and make sure you can clearly see the pairing code printed on the new applicator.
This may sound like a small detail, but having everything ready can make the experience feel much calmer.
Step 1: Check Whether Your Current Sensor Is Ready to Be Replaced
A standard Dexcom G7 sensor is designed for up to 10 days of use, followed by a 12-hour grace period.
During the grace period, the sensor can continue operating while giving you additional time to replace it. Dexcom says users can either replace the sensor during this period or allow the grace period to finish.
The receiver will provide alerts as the sensor session approaches its end.
This is helpful because you do not necessarily have to change the sensor at the exact moment the 10-day period ends.
Can you replace the sensor early?
Yes. Dexcom provides an option to end the current session early.
According to Dexcom’s instructions for the receiver, go to the Menu and select:
Replace Sensor — when you want to begin a new sensor immediately.
or
Stop Sensor Session — when you want to stop the current sensor without immediately starting another one.
If you want continuous CGM monitoring, the Replace Sensor option is generally the relevant choice.
Step 2: End the Current Sensor Session
On the Dexcom G7 receiver, open the menu.
Select:
Menu → Replace Sensor
The receiver will guide you through the process.
If the sensor has already completed its session and grace period, the receiver can prompt you to start a new sensor.
Dexcom explains that the old sensor session must be ended before starting a new sensor.
Why this step matters
It can be tempting to simply remove the old sensor and put on a new one. However, the receiver needs to know that the previous sensor session has ended.
Following the receiver’s prompts helps keep the sensor transition organized.
Step 3: Remove the Old Dexcom G7 Sensor
Once the old sensor session has ended, remove the sensor from your skin.
Dexcom recommends peeling the sensor patch off like a bandage.
If the adhesive feels especially secure, avoid aggressively pulling at the skin.
Take your time and remove the patch carefully.
After removing the sensor
Check your skin.
A small amount of temporary redness can occur after removing an adhesive product, but if you notice significant irritation, swelling, severe discomfort, or another concerning reaction, seek appropriate medical advice.
Do not immediately place a new sensor over an irritated or damaged area.
Choosing a healthy insertion location can make the next sensor experience more comfortable.
Step 4: Choose a Suitable Site for Your New Dexcom G7 Sensor
Selecting a good site is an important part of sensor replacement.
Dexcom’s current information indicates that G7 sensor placement depends on age and the specific G7 model. For the standard G7, the back of the upper arm is an indicated location for users ages 2 years and older, while the upper buttocks may also be indicated for children ages 2–6 years.
Always follow the instructions for your specific product and age group.
Avoid problematic areas
Dexcom advises avoiding areas:
- With insufficient fatty tissue
- Near muscle or bone
- That are frequently bumped or pressed
- Where you regularly sleep
- Near a waistband
- With irritation or scarring
- With tattoos or substantial hair
- Too close to an infusion or injection site
Dexcom’s receiver setup information also recommends choosing a location that is less likely to be bumped or pushed.
Give your skin a break
If you have been using the same general area repeatedly, rotating sites may help reduce irritation.
Do not place the new sensor directly over the previous insertion location.
Step 5: Clean the New Sensor Site
Once you have selected an appropriate location, clean the area with an alcohol wipe.
Allow the skin to dry completely.
Dexcom’s instructions recommend allowing the alcohol-cleaned area to dry for at least 10 seconds before insertion.
Why should the skin be dry?
A dry surface can help the adhesive attach properly.
Applying the sensor while the skin is still wet may make the adhesive less effective.
Try not to touch the cleaned area unnecessarily after cleaning it.
Step 6: Prepare the Dexcom G7 Applicator
Take your new Dexcom G7 applicator.
Inspect the packaging and make sure it is the correct sensor for your system.
Do not use a damaged product.
Dexcom’s G7 is an all-in-one sensor and applicator system, meaning the sensor is built into the applicator.
Remove the applicator cap
Unscrew the cap as directed.
Avoid touching the inside of the applicator.
Dexcom specifically instructs users not to touch inside the applicator during the insertion process.
This is one of those moments when slowing down is better than rushing.
Step 7: Insert the New Dexcom G7 Sensor
Place the applicator firmly against the prepared insertion site.
According to Dexcom’s receiver setup instructions, the applicator should be held firmly against the skin before pressing the button.
Press the applicator button as instructed.
Once the sensor has been inserted, remove the applicator according to the instructions.
Keep the insertion controlled
Do not repeatedly press or manipulate the applicator.
Use the official Dexcom instructions for your exact sensor model if the physical design or insertion instructions differ.
Step 8: Help Secure the Sensor Patch
After insertion, make sure the adhesive patch is properly attached.
Dexcom’s setup instructions recommend rubbing firmly around the patch three times and then gently pressing on the sensor for approximately 10 seconds.
A secure patch can be especially useful if you are active during the day, sweat frequently, or move your arms often.
However, avoid placing unnecessary pressure on the sensor itself.
Step 9: Find the Pairing Code
This is one of the most important steps when changing a Dexcom G7 sensor with receiver.
Each new G7 sensor has a 4-digit pairing code.
Dexcom explains that G7 sensors are factory calibrated, so you do not enter the sensor calibration code used with older systems such as G6. However, you still need the 4-digit pairing code to pair the new sensor with a compatible receiver or smart device.
The pairing code is provided on the body of the new G7 applicator.
Do not confuse the pairing code with a calibration code
This is a common point of confusion.
The G7 does not require users to enter the older-style sensor calibration code.
Instead, you enter the 4-digit pairing code associated with the new sensor.
Carefully enter the correct four digits.
Step 10: Confirm the New Sensor on the Receiver
Return to your Dexcom G7 receiver.
The receiver should guide you through the replacement process.
Confirm that you have inserted the new sensor when prompted.
Then enter the 4-digit pairing code from the new applicator.
Dexcom’s receiver instructions describe this as part of the pairing process.
Take a moment to check the number
Before confirming, look at the applicator again.
A single incorrect digit can prevent the sensor from pairing correctly.
If the receiver does not accept the code or the pairing process does not proceed as expected, follow the troubleshooting instructions supplied by Dexcom rather than repeatedly guessing.
Step 11: Wait for the Sensor to Pair
After entering the pairing code, the receiver will attempt to communicate with the new sensor.
Give the system time to complete the pairing process.
Once pairing is complete, the receiver will guide you to the next step.
Dexcom’s official replacement instructions state that after pairing, users select Finish and proceed to sensor warmup.
Step 12: Complete the Dexcom G7 Sensor Warmup
The new sensor needs a warmup period before glucose readings and alerts become available.
Dexcom states that the G7 warmup can take up to approximately 30 minutes.
The receiver will show the warmup progress.
During this period, keep the receiver close enough to communicate with the sensor as directed by Dexcom.
Why does the warmup happen?
The sensor needs time to begin its new monitoring session.
The warmup period is a normal part of starting a new sensor and does not necessarily indicate a problem.
Do not remove the new sensor simply because it does not provide readings immediately after insertion.
Wait for the receiver to complete the warmup process.
Step 13: Confirm That Your New Sensor Is Working
When warmup is complete, check your receiver.
You should begin seeing glucose information and, when applicable, alerts according to your system settings.
Take a moment to make sure:
- The new sensor is attached securely.
- The receiver recognizes the sensor.
- Glucose readings are appearing.
- Alerts are functioning as expected.
- The sensor session has started correctly.
If something does not appear as expected, consult the official Dexcom troubleshooting information.
What Happens During the Dexcom G7 Sensor Warmup?
The warmup period is the transition between inserting the new sensor and receiving glucose information from the new session.
Dexcom’s receiver instructions describe the warmup timer as the period before readings and alerts begin.
The receiver will display information about the warmup process.
This can be reassuring because you do not have to guess whether the sensor is doing anything.
Be patient
One of the most common mistakes people can make during any technology setup is assuming that something is wrong simply because it takes a few minutes.
A new sensor needs time to start.
If the receiver is showing the expected warmup process, allow it to continue.
How Long Does a Dexcom G7 Sensor Last?
The standard Dexcom G7 sensor is designed to provide glucose data for up to 10 days, followed by a 12-hour grace period.
Dexcom describes this grace period as additional time that can make sensor replacement more convenient.
This means you do not necessarily have to replace your sensor immediately when the standard 10-day sensor session ends.
However, after the grace period ends, the sensor must be replaced to continue receiving glucose readings and alerts.
Can You Restart a Dexcom G7 Sensor?
No.
Dexcom states that a G7 sensor cannot be restarted after the sensor session has ended.
This is important for people who may have used older CGM systems with different procedures.
Once the G7 sensor session has ended, plan to use a new sensor rather than trying to restart the old one.
Can You Change the Dexcom G7 Sensor Before 10 Days?
A user may end the sensor session early if necessary.
Dexcom’s receiver instructions provide a Replace Sensor option when the user wants to start a new sensor immediately.
However, changing a sensor early may affect your available supplies.
If you are replacing a sensor because it has failed, fallen off, or is behaving unexpectedly, follow Dexcom’s support process and your healthcare professional’s advice where appropriate.
What If Your Dexcom G7 Sensor Falls Off Early?
Sometimes an adhesive sensor may loosen or come off before the expected end of its session.
Do not simply assume that the sensor is defective.
First, follow the instructions supplied with your system regarding sensor problems and replacement.
If you believe the sensor failed prematurely, Dexcom provides a sensor replacement process. Dexcom asks users reporting product issues to provide identifying information such as the sensor’s serial number and contact details.
Dexcom’s sensor replacement policy says confirmed product failures during the intended sensor life may qualify for replacement, while some non-defective situations may qualify for a courtesy replacement on a case-by-case basis.
What If the Dexcom G7 Will Not Pair With the Receiver?
If your new sensor does not pair, do not panic.
Start by checking the basics.
Check the pairing code
Make sure you entered the correct 4-digit pairing code from the new applicator.
Remember that G7 uses a pairing code rather than the older sensor code used by some previous Dexcom systems.
Check that the old sensor session has ended
A new sensor cannot simply be started while the previous session is still active.
Dexcom states that the existing session or grace period must be ended before starting a new sensor.
Follow the receiver prompts
The receiver is designed to guide users through the setup process.
If a specific error appears, use the official Dexcom troubleshooting instructions rather than repeatedly attempting the same action.
What If the Receiver Says It Cannot Find the Sensor?
Several factors can affect the pairing process.
Start by reviewing:
- Whether the correct pairing code was entered
- Whether the old sensor session has ended
- Whether the new sensor was inserted correctly
- Whether the receiver is following the expected setup sequence
- Whether the receiver has sufficient battery power
If the issue continues, consult Dexcom support or the official user guide.
Dexcom maintains official G7 receiver guides and training resources for users who need additional help.
What If the New Sensor Is Uncomfortable?
Some users may notice mild discomfort after insertion.
However, significant pain is not something to simply ignore.
If the sensor causes substantial discomfort, appears to have been placed incorrectly, or you develop a concerning skin reaction, contact an appropriate healthcare professional and follow the manufacturer’s guidance.
Do not attempt to modify the sensor or applicator.
What If the Sensor Adhesive Is Not Sticking Well?
A sensor works best when it remains securely attached.
Before insertion, make sure the skin is clean and dry. Dexcom specifically recommends cleaning the site with an alcohol wipe and allowing it to dry before insertion.
Avoid applying the sensor over:
- Moist skin
- Irritated skin
- Heavy lotion or oil
- Areas where clothing constantly rubs
- Scarred or damaged skin
If you routinely have difficulty keeping the sensor attached, ask your healthcare professional or follow Dexcom’s approved guidance for adhesive support.
Should You Use the Same Sensor Location Every Time?
It is generally sensible to rotate appropriate sensor locations rather than repeatedly inserting into exactly the same spot.
Repeated use of the same area can contribute to local skin irritation.
Choose only locations approved for your particular Dexcom G7 product and age group.
Dexcom’s current instructions identify approved placement areas based on the product and age.
If you are uncertain about where your sensor should be placed, review the instructions for your exact model.
Dexcom G7 Sensor With Receiver vs. Smartphone
The Dexcom G7 can be used with compatible display devices, depending on the product and market.
Some users prefer a smartphone because it is already part of their daily routine.
Others prefer the dedicated Dexcom G7 receiver because it provides a separate device for viewing CGM information.
The replacement process is similar in principle, but the on-screen steps differ.
This article specifically focuses on how to change Dexcom G7 sensor with receiver.
Dexcom provides separate training materials for replacing a sensor using the app and using the receiver.
Why Some People Prefer a Dexcom G7 Receiver
A dedicated receiver can be useful for people who prefer not to depend entirely on a smartphone.
It can also provide a straightforward, focused display for glucose information.
The best display option depends on the user’s needs, compatible devices, preferences, and healthcare situation.
Before switching display methods, check Dexcom’s current compatibility information and instructions.
Important Tips for Changing a Dexcom G7 Sensor
The following habits can make the replacement process easier.
1. Keep your new sensor available before the old one ends
Don’t wait until the last minute to discover that you are out of sensors.
Keeping your supplies organized can reduce unnecessary stress.
2. Check the applicator before insertion
Look at the product before opening or using it.
If the packaging appears damaged, follow the manufacturer’s instructions rather than using a questionable product.
3. Keep the pairing code visible
Before throwing away the applicator, make sure you have entered the required pairing code.
4. Clean the skin properly
Clean the site and allow it to dry.
5. Avoid irritated skin
Give irritated areas time to recover.
6. Follow your receiver’s instructions
The on-screen prompts are there to guide you.
7. Do not restart an expired G7 sensor
Dexcom states that G7 sensors cannot be restarted after the session has ended.
8. Keep your receiver charged
A low battery can make an already stressful situation more difficult.
9. Keep backup supplies organized
Having your next sensor available can make replacement much easier.
Common Mistakes When Changing a Dexcom G7 Sensor
Understanding common mistakes can help you avoid them.
Mistake 1: Forgetting to end the previous session
A new sensor needs to be started through the appropriate receiver process.
Mistake 2: Entering the wrong pairing code
The G7 uses a 4-digit pairing code associated with the new applicator.
Mistake 3: Applying the sensor to wet skin
Allow the alcohol to dry before insertion.
Mistake 4: Choosing an unsuitable location
Avoid areas that are frequently bumped, pressed, irritated, or otherwise unsuitable according to Dexcom’s instructions.
Mistake 5: Removing the sensor during warmup
Warmup is expected after starting a new sensor.
Mistake 6: Trying to restart an expired sensor
Dexcom does not allow G7 sensor restarts after the session has ended.
Mistake 7: Ignoring repeated sensor problems
If you repeatedly experience failures, contact Dexcom support and speak with your healthcare professional when appropriate.
What Should You Do if the Sensor Fails Before 10 Days?
A sensor that stops working before the expected end of its intended life may require troubleshooting or replacement.
Dexcom recommends contacting its technical support team for product issues.
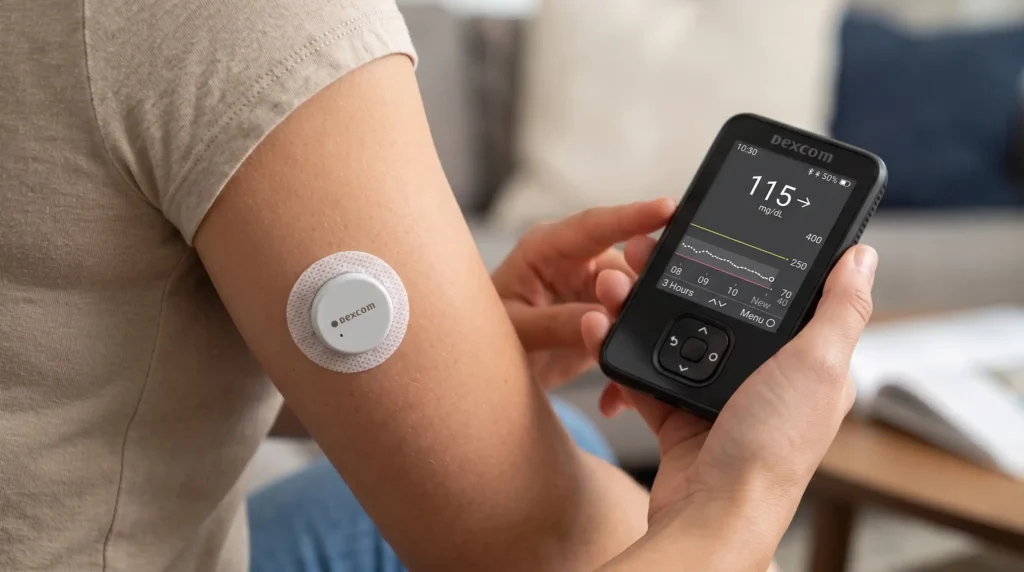
When reporting a sensor issue, Dexcom says you may need the sensor’s identifying information, including its serial number.
Keep the packaging or product information available until you are confident the sensor is functioning properly.
This can save time if support asks for identifying information.
Why Keeping the Sensor Packaging Can Be Helpful
It is easy to throw away packaging immediately after inserting a sensor.
However, keeping the applicator packaging or relevant product information until the sensor is working properly can be useful.
If a sensor fails, you may need identifying information when communicating with Dexcom support.
Dexcom specifically recommends having the sensor serial number available when reporting product issues.
A small organizational habit can make a frustrating situation easier.
What to Do During a Gap Between Sensors
Sometimes there can be a short period between removing one sensor and starting another.
During such situations, follow the glucose-monitoring plan provided by your healthcare professional.
Do not assume that a missing CGM reading means you should guess your glucose level.
If you have been instructed to use a blood glucose meter when CGM information is unavailable, follow those instructions.
Treatment decisions should be made according to your prescribed diabetes-management plan and the instructions for your specific CGM system.
Understanding CGM Readings After Replacing Your Sensor
Once your new sensor finishes warmup, you can begin receiving glucose information again.
Remember that CGM readings represent glucose information measured by the sensor and may not always exactly match a blood glucose meter value.
Dexcom provides educational information about differences between CGM readings and blood glucose meter values.
If your readings seem unusual or do not match how you feel, follow the instructions provided with your Dexcom system and your healthcare professional’s recommendations.
When Should You Contact Your Healthcare Professional?
Changing a sensor is a technical task, but diabetes management is much broader than sensor replacement.
Contact your healthcare professional if you have questions about:
- Your glucose targets
- Medication or insulin dosing
- Repeated unexplained glucose changes
- How to respond to high or low glucose
- Persistent symptoms
- Skin reactions
- Whether a particular sensor location is appropriate
- Using CGM information for treatment decisions
Do not change medication doses solely because of information in a general online article.
Your healthcare professional can help you understand how CGM information fits into your individual treatment plan.
When Should You Contact Dexcom Support?
Dexcom support can be particularly useful for product-specific problems.
Consider contacting Dexcom if:
- A sensor fails unexpectedly
- The receiver repeatedly cannot pair with a new sensor
- You receive an unfamiliar sensor error
- The sensor stops working prematurely
- You need help with product-specific troubleshooting
- You need information about sensor replacement
Dexcom provides product support resources and a sensor replacement process.
A Quick Dexcom G7 Sensor Replacement Checklist
Use this simplified checklist when changing your sensor:
- Have the new Dexcom G7 sensor ready.
- Charge or check the receiver battery.
- Wash and dry your hands.
- End the current sensor session using the receiver.
- Remove the old sensor carefully.
- Choose an approved new insertion site.
- Clean the site with an alcohol wipe.
- Allow the site to dry.
- Prepare the new applicator.
- Avoid touching inside the applicator.
- Insert the new sensor according to the instructions.
- Make sure the adhesive is securely attached.
- Locate the new sensor’s 4-digit pairing code.
- Confirm the sensor is inserted on the receiver.
- Enter the pairing code.
- Wait for pairing.
- Select Finish when prompted.
- Complete the sensor warmup.
- Confirm glucose readings and alerts are available.
- Keep the product information available in case support is needed.
How Alfa Healthcare Supply Inc. Can Support Your Healthcare Supply Needs
Managing diabetes often involves more than one product. Depending on an individual’s healthcare needs, patients and caregivers may need glucose-monitoring supplies, durable medical equipment, diabetic supplies, mobility products, incontinence supplies, or other healthcare products.
Alfa Healthcare Supply Inc. is a healthcare supply company serving customers who need medical equipment and healthcare products.
When choosing a medical supply provider, it is important to look beyond simply finding a product online. Consider product availability, ordering support, product information, customer service, and whether the supplier is familiar with the type of healthcare equipment you need.
For diabetes-related supplies, always make sure you are purchasing the correct product and model for your healthcare needs.
Why Understanding Your Dexcom G7 Replacement Routine Matters
A CGM sensor can become part of a person’s everyday routine.
For someone who has been using CGM technology for months or years, changing the sensor may eventually feel like changing a battery or replacing another everyday healthcare item.
But there can still be moments of uncertainty.
What if the sensor is about to expire and you are away from home?
What if you cannot remember where the pairing code is?
What if the receiver does not immediately connect?
Knowing the process in advance can make these situations much less stressful.
The most important idea is simple:
You do not need to rush.
Prepare the supplies, follow the receiver prompts, insert the new sensor according to the manufacturer’s instructions, enter the correct pairing code, and allow the sensor to complete its warmup.
A Simple Memory Trick for Dexcom G7 Sensor Replacement
If you find the full process difficult to remember, think of the replacement as:
End → Remove → Clean → Insert → Pair → Warm Up → Check
End
End the old sensor session.
Remove
Remove the old sensor carefully.
Clean
Clean the new insertion site and let it dry.
Insert
Insert the new G7 sensor according to the manufacturer’s instructions.
Pair
Enter the new 4-digit pairing code into the receiver.
Warm Up
Allow the new sensor to complete warmup.
Check
Confirm that glucose readings and alerts are working as expected.
This simple sequence can help make the procedure easier to remember.
Final Thoughts: Changing Your Dexcom G7 Sensor With Confidence
Learning how to change Dexcom G7 sensor with receiver does not have to be overwhelming.
The first few times may require extra attention, especially when you are learning where to find the pairing code or navigating the receiver prompts. With practice, the process can become a familiar part of your diabetes-care routine.
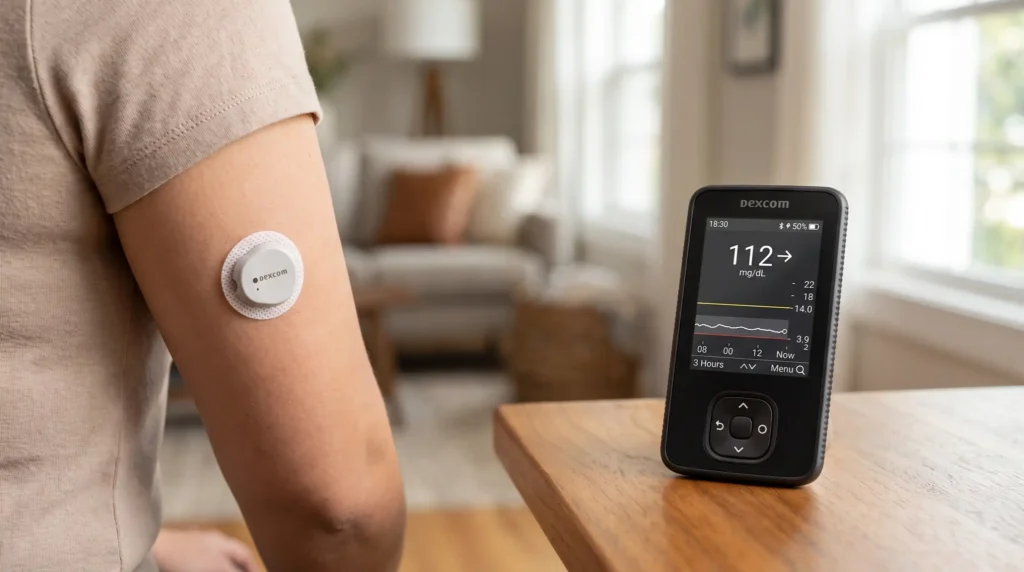
For the standard Dexcom G7, the sensor provides up to 10 days of glucose data followed by a 12-hour grace period. When it is time for a new sensor, the receiver can guide you through ending the old session, replacing the sensor, entering the new pairing code, and completing warmup.
Remember these essentials:
- End the old sensor session before starting a new one.
- Remove the old sensor carefully.
- Select an appropriate approved insertion site.
- Clean and dry the skin.
- Follow the applicator instructions carefully.
- Use the new sensor’s 4-digit pairing code.
- Allow the sensor to complete warmup.
- Do not attempt to restart an expired G7 sensor.
- Contact Dexcom support if you experience a suspected product failure.
- Speak with your healthcare professional about treatment decisions and medical concerns.
Give yourself permission to slow down and take the time you need. Healthcare routines do not need to be rushed. A calm, consistent approach can make changing a Dexcom G7 sensor with receiver feel much more manageable.
For official product instructions, always refer to the documentation provided with your Dexcom G7 system and the latest information from Dexcom. Dexcom maintains current G7 user guides and receiver resources on its official website.
Frequently Asked Questions About How to Change Dexcom G7 Sensor With Receiver
1. How do I change a Dexcom G7 sensor using the receiver?
First, end the current sensor session from the receiver using the Menu and Replace Sensor option. Remove the old sensor, prepare an approved new site, clean and dry the skin, insert the new G7 sensor, and then use the receiver to confirm insertion and enter the new sensor’s 4-digit pairing code. Wait for pairing and complete the warmup.
2. How long does a Dexcom G7 sensor last?
The standard Dexcom G7 sensor is designed to last up to 10 days, followed by a 12-hour grace period.
3. Can I replace my Dexcom G7 during the grace period?
Yes. The grace period provides additional time to replace the sensor. You can either wait until it ends or replace the sensor earlier by ending the current session through the receiver.
4. Can I restart a Dexcom G7 after it expires?
No. Dexcom states that the G7 sensor cannot be restarted after its session has ended.
5. Does Dexcom G7 use a sensor code?
The G7 is factory calibrated and does not require the traditional sensor calibration code used by older Dexcom systems. However, you still need the 4-digit pairing code printed on the G7 applicator to pair the sensor with the receiver.
6. Where is the Dexcom G7 pairing code?
The 4-digit pairing code is provided on the body of the new Dexcom G7 applicator.
7. How long does Dexcom G7 warmup take?
Dexcom’s receiver training information states that G7 warmup can take up to approximately 30 minutes.
8. Can I use the Dexcom G7 receiver instead of a smartphone?
Yes, the Dexcom G7 system has a receiver option in supported configurations. Dexcom provides specific setup and replacement instructions for users operating the G7 with the receiver.
9. What should I do if my G7 sensor does not pair?
Check that the previous sensor session has ended and that you entered the correct 4-digit pairing code from the new applicator. If the problem continues, follow Dexcom’s troubleshooting guidance or contact Dexcom technical support.
10. What if my Dexcom G7 sensor falls off?
If the sensor comes off unexpectedly, follow the manufacturer’s instructions for sensor problems and replacement. If you believe the sensor failed prematurely, contact Dexcom support. You may need the sensor’s identifying information when reporting the issue.
11. Can I insert the new sensor in the same place?
It is better to follow Dexcom’s site-selection instructions and avoid placing a new sensor over irritated or unsuitable skin. Rotate appropriate sites when possible and follow the instructions for your specific G7 model.
12. Should I clean the skin before applying the sensor?
Yes. Dexcom’s instructions recommend cleaning the insertion site with an alcohol wipe and allowing it to dry before insertion.
13. Why does my new Dexcom G7 not show readings immediately?
A new sensor goes through a warmup period before readings and alerts become available. Dexcom states that the warmup can take up to approximately 30 minutes.
14. What if the sensor is painful?
If you experience significant or persistent pain, follow the product instructions and contact an appropriate healthcare professional. Do not ignore a concerning reaction simply because the sensor is new.
15. What should I do with the old applicator?
Dispose of used sensor components according to the manufacturer’s instructions and applicable local requirements. Keep relevant product information until you are confident the new sensor is working correctly, particularly if you may need to contact technical support.
16. Can I change the Dexcom G7 sensor myself?
Many users can follow the manufacturer’s instructions to replace their own sensor. However, children, people with limited dexterity, or anyone who is uncomfortable with the process may benefit from assistance from a trained caregiver or healthcare professional.
17. Is changing a Dexcom G7 sensor difficult?
For many people, the first replacement can feel unfamiliar. Once you understand the sequence—end the old session, remove the old sensor, prepare the site, insert the new sensor, enter the pairing code, and complete warmup—the routine can become much easier.
18. Do I need a new pairing code for every G7 sensor?
Yes. Each new sensor has its own 4-digit pairing code that is used to pair that sensor with the receiver.
19. Can I use an expired Dexcom G7 sensor?
Do not use a sensor beyond its approved use period. The standard G7 sensor is intended for up to 10 days plus the specified 12-hour grace period.
20. Where can I learn more about changing the G7 sensor?
Dexcom provides official G7 guides, receiver instructions, training videos, and replacement information. Its training resources include a dedicated video for replacing the G7 sensor using the receiver.
Disclaimer: This educational article is not medical advice and does not replace the official Dexcom instructions for use, product labeling, or advice from a qualified healthcare professional. Product availability, approved insertion sites, features, and instructions may vary by age, product version, country, and regulatory approval. If your glucose readings do not match how you feel, or you experience symptoms that concern you, follow your healthcare professional’s instructions and the safety guidance provided with your CGM system.