


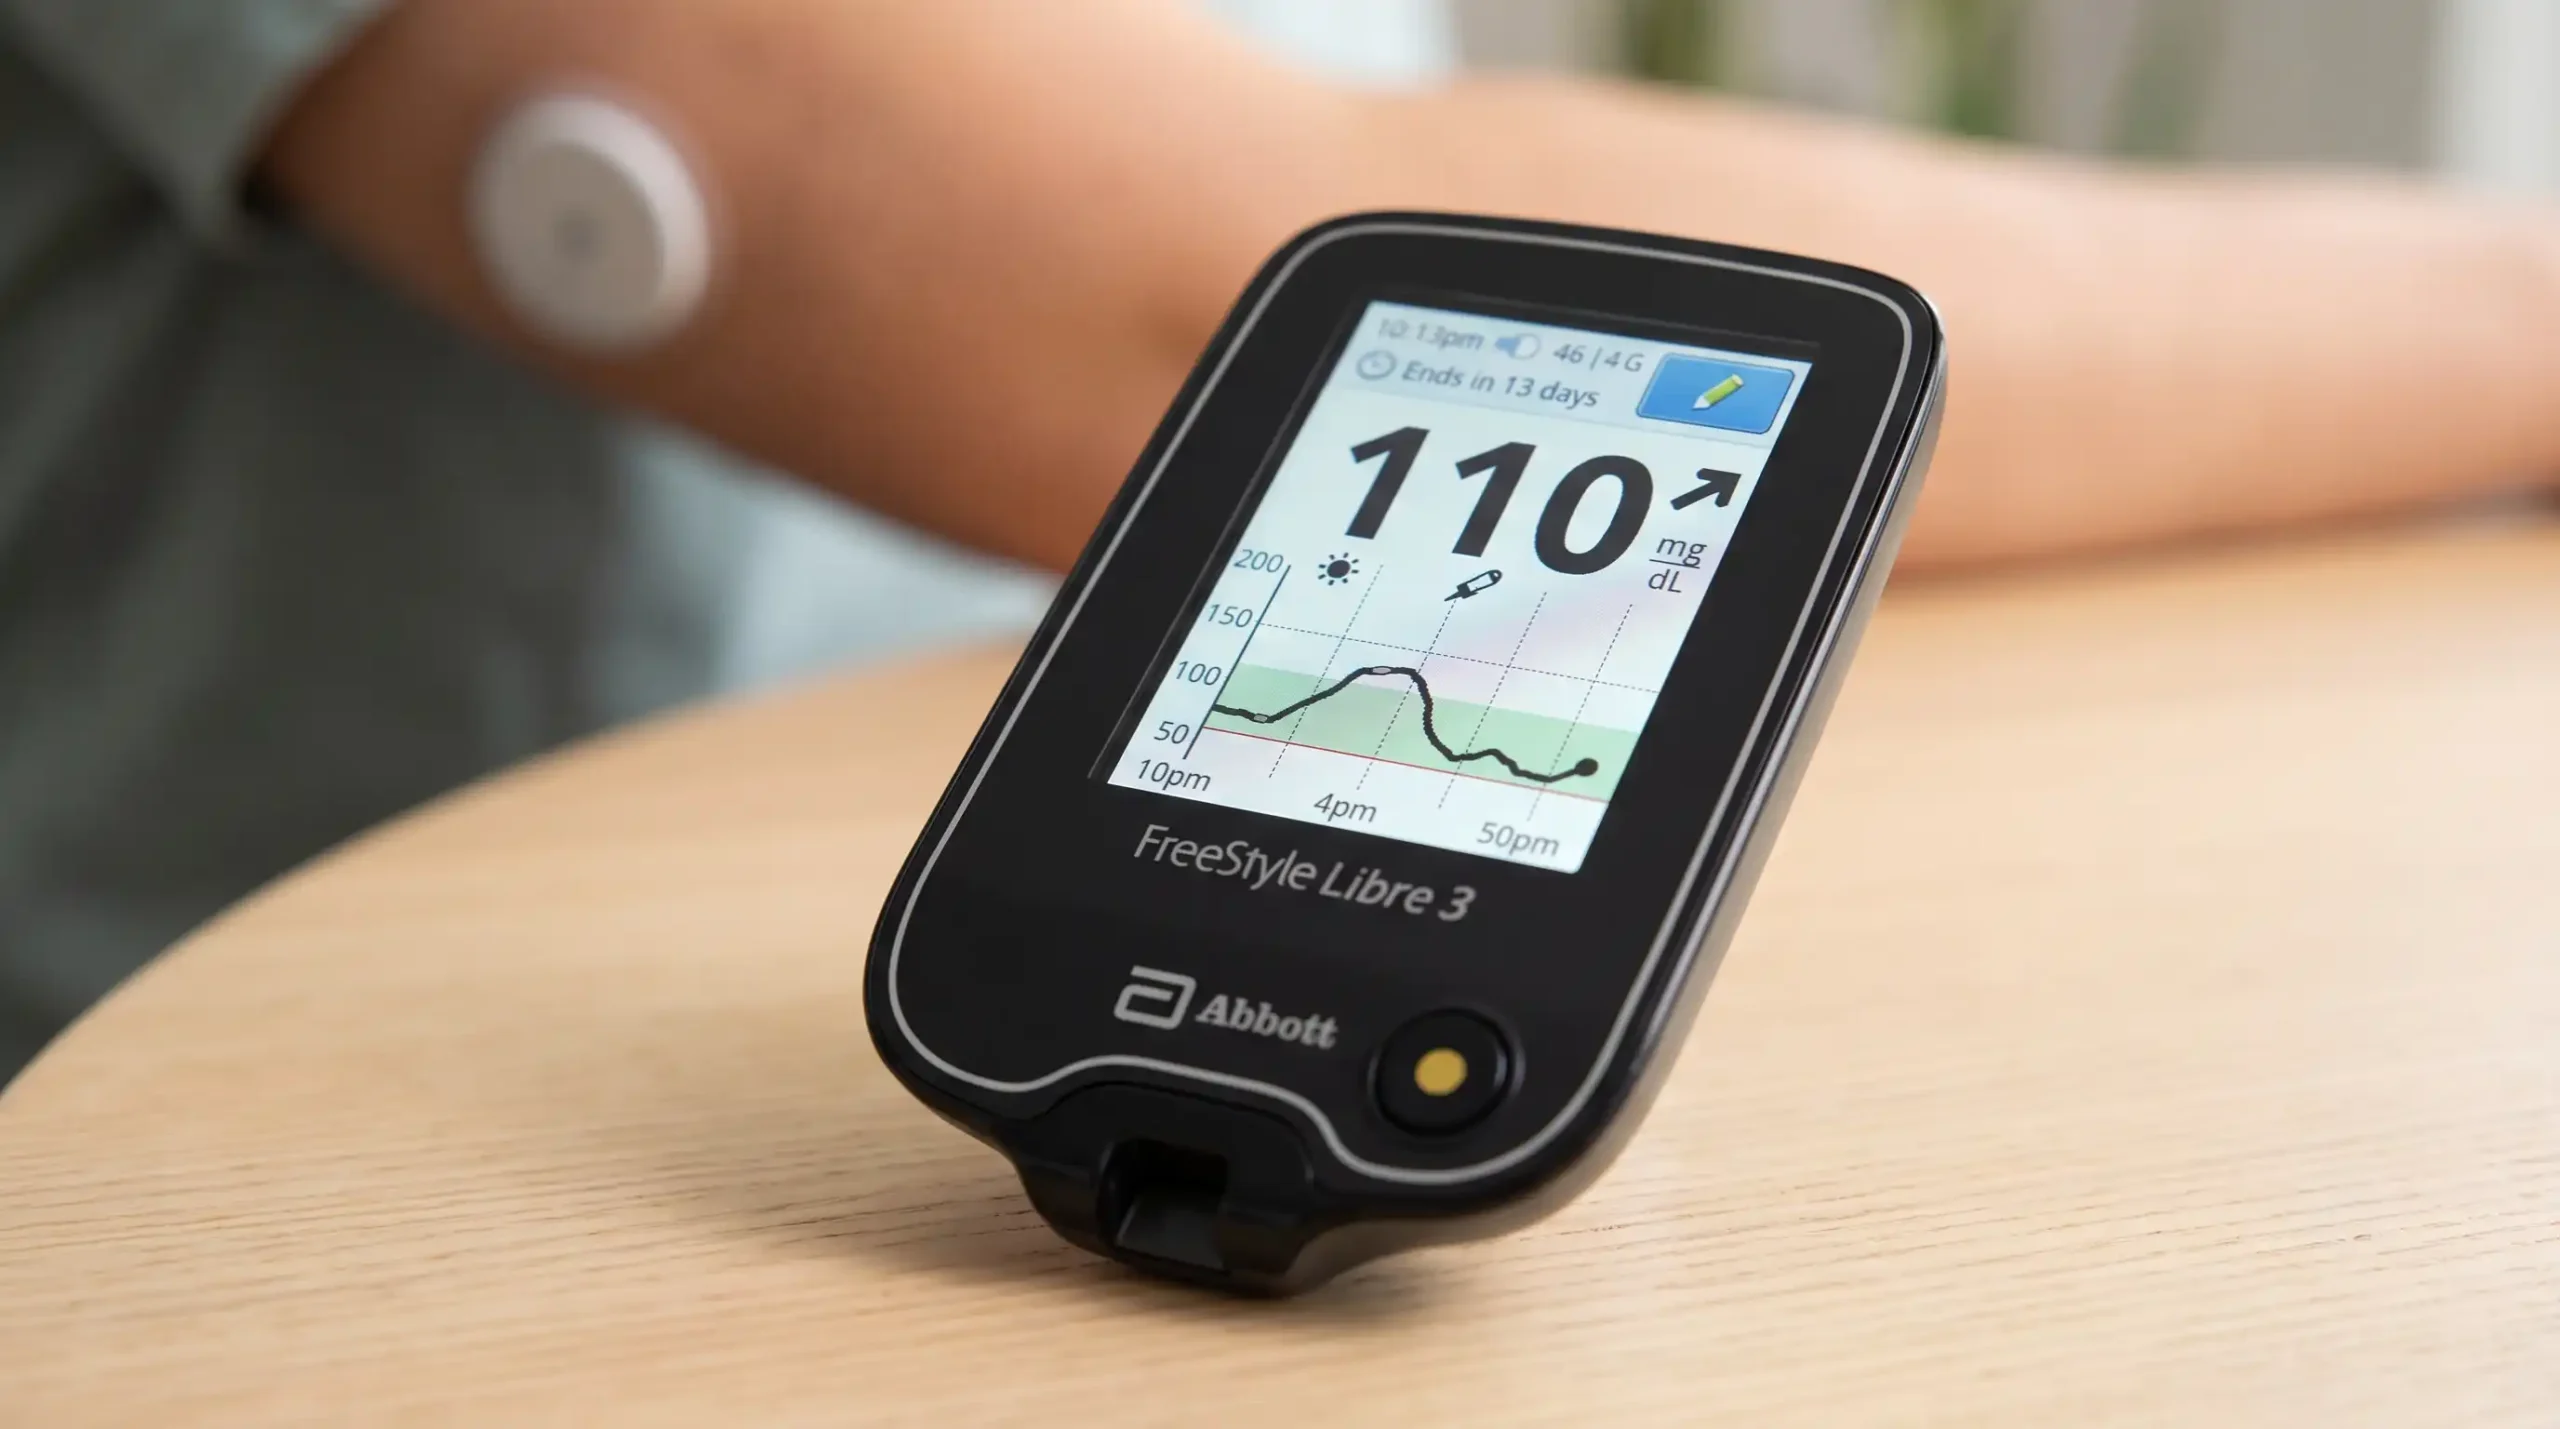
Managing diabetes can sometimes feel like a daily balancing act. You may wonder whether your glucose is rising after a meal, dropping during exercise, or staying within the range recommended by your healthcare provider. A continuous glucose monitoring (CGM) system such as FreeStyle Libre 3 can make checking glucose easier by providing glucose information from a sensor worn on the body.
If you are searching for how to check glucose with FreeStyle Libre 3 reader, the good news is that the process is designed to be simple. Once your sensor has been properly applied, activated, and paired with the reader, you can view your glucose information on the reader’s screen without routinely performing a fingerstick just to obtain each sensor glucose reading. Abbott explains that the FreeStyle Libre 3 reader receives glucose readings from the sensor and can also provide glucose alarms.
The FreeStyle Libre 3 reader is a handheld device designed to work with the FreeStyle Libre 3 continuous glucose monitoring system. Instead of repeatedly using a traditional glucose meter to obtain a blood glucose reading, the CGM sensor measures glucose and communicates information to the compatible reader.
The reader can show important information such as:
Abbott’s healthcare-provider materials describe the reader as having a color touchscreen and the ability to store approximately 90 days of glucose history and notes.
This can make glucose monitoring feel less disruptive. Instead of stopping what you are doing every time you want to understand your glucose, you can use the reader to see the information available from your sensor.
Once your FreeStyle Libre 3 sensor is active and connected to the reader, checking your glucose is straightforward.
Before you can check glucose, the FreeStyle Libre 3 sensor needs to be correctly applied and started.
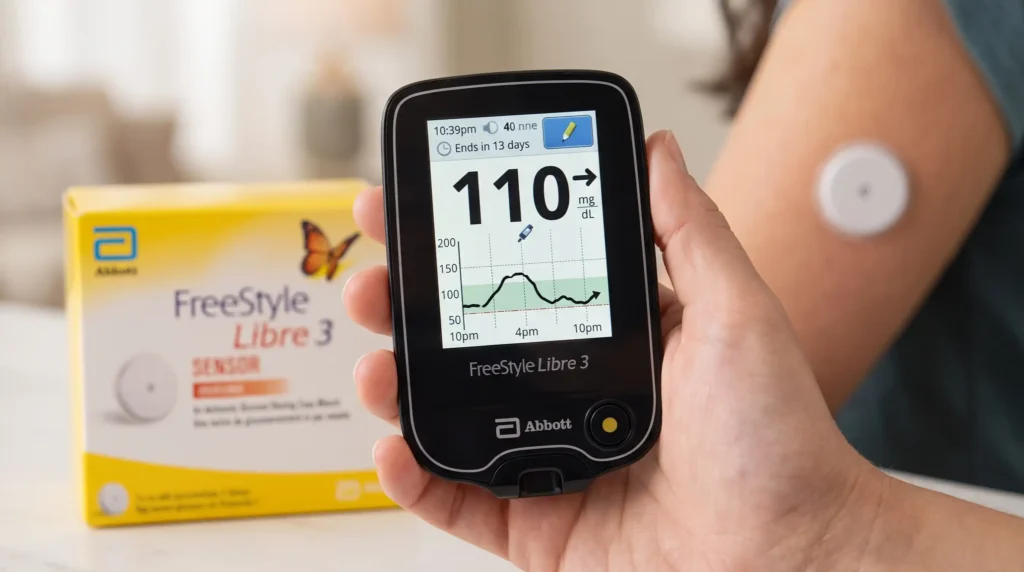
Abbott’s setup instructions explain that the sensor is applied to the back of the upper arm. After application, the sensor is activated using the compatible app or reader.
If you have just started a new sensor, follow the startup instructions supplied with your specific sensor and reader.
The system may require an initial warm-up period before glucose readings become available.
Turn on the reader and use the touchscreen as directed.
Once the sensor and reader are communicating correctly, the reader can display the latest glucose information.
You do not need to repeatedly prick your finger simply to obtain every sensor glucose reading.
The FreeStyle Libre 3 system is designed to provide glucose information automatically after the sensor has been started and connected to the reader.
The main screen displays your current sensor glucose reading.
For example, you may see a number such as:
112 mg/dL
The exact number will, of course, be different for every person and can change throughout the day.
Your current glucose number tells you where your glucose is at that moment according to the sensor.
But don’t look at the number alone.
The trend arrow is also important.
One of the helpful features of a CGM is that it can provide information about the direction your glucose is moving.
The trend arrow can help you understand whether glucose is:
For example, two people could both have a glucose reading of 120 mg/dL, but their situations could be different if one person’s glucose is rising and the other’s is falling.
The FreeStyle Libre 3 reader displays the current glucose value together with a glucose trend arrow and glucose graph.
Think of the glucose number as a snapshot and the trend arrow as part of the story.
A single reading tells you where your glucose is now.
The trend can help you understand where it may be heading.
However, do not make medication or insulin decisions based solely on general information from an article. Follow the diabetes management plan provided by your healthcare professional.
The reader can also display a graph showing your glucose history.
This can help you notice patterns throughout the day.
For example, you may notice that your glucose:
Looking at trends over time can be more useful than focusing on one isolated number.
The FreeStyle Libre 3 reader can store approximately 90 days of glucose history and notes, according to Abbott’s product information.
Depending on your setup and prescribed monitoring plan, the FreeStyle Libre 3 system can provide glucose alarms.
Alarms can help alert you when glucose reaches certain high or low levels.
This can be especially useful when you are:
Abbott notes that alarm notifications depend on appropriate alarm settings and, for compatible devices, the sensor being within the specified communication range.
Make sure your alarm settings are configured according to your healthcare professional’s recommendations.
This is an important point because the FreeStyle Libre 3 system works differently from some earlier glucose-monitoring systems.
After the initial sensor activation, the FreeStyle Libre 3 system is designed to provide glucose information automatically when paired with the compatible reader or smartphone. You do not need to repeatedly scan the sensor simply to obtain each glucose reading.
The initial scan/start process is different from repeatedly scanning for readings.
So, if your sensor is already active and communicating properly with the reader, you can check the reader to view the available glucose information.
The reader’s home screen can provide several pieces of information at once.
You may see:
This is the latest glucose value reported by the sensor.
This provides information about the direction your glucose is moving.
The graph gives you a broader view of your recent glucose pattern.
If alarms are configured, the reader can notify you about certain glucose conditions.
You can record information such as food, insulin, or exercise, depending on the reader’s available functions.
Abbott’s training material specifically identifies the current glucose reading, glucose graph, trend arrow, target range, alarms, and note functions on the reader interface.
Yes. The FreeStyle Libre 3 reader also includes a built-in blood glucose meter, although the necessary blood glucose testing supplies are obtained separately.
Abbott states that the built-in meter requires compatible FreeStyle Precision Neo blood glucose test strips, control solution, a lancing device, and lancets.
This can be useful when a fingerstick confirmation is needed.
A CGM reading is extremely useful, but there are situations where a blood glucose meter may be needed.
Abbott advises checking glucose with a fingerstick when:
This is an important safety point.
Imagine your reader shows a number that looks normal, but you suddenly feel shaky, confused, sweaty, weak, or otherwise unwell.
Don’t simply ignore those symptoms because the CGM number looks reassuring.
Follow the safety instructions for your system and your healthcare professional’s guidance. Abbott specifically warns users not to ignore symptoms that may be related to high or low glucose.
For many people, the biggest advantage is convenience.
Traditional blood glucose monitoring generally requires obtaining a blood sample for each test. A CGM system provides a different approach by using a sensor to monitor glucose continuously.
The reader allows you to see glucose information without repeatedly performing a fingerstick for every sensor reading.
Easy-to-read information:
The reader presents glucose values and trends on a touchscreen.
Glucose history:
You can review previous readings to identify patterns.
Trend information:
The trend arrow adds context to the current number.
Alerts:
Configured alarms can notify you about certain glucose levels.
Notes:
Recording meals, insulin, or exercise can help you and your healthcare team understand patterns.
Checking your glucose is only one part of effective diabetes management.
You can make your readings more meaningful by paying attention to patterns.
Depending on your healthcare professional’s recommendations, you may find it helpful to observe glucose around meals, exercise, sleep, and other activities.
A single reading does not always tell the complete story.
A series of readings can reveal changes throughout the day.
Recording meals, exercise, or insulin can help provide context when reviewing glucose history.
Your healthcare professional can help establish individualized glucose targets.
Do not assume that a target range found online is automatically the right range for you.
If you receive a low or high glucose alarm, follow the diabetes treatment plan provided by your healthcare professional.
Sometimes the reader may not show the expected glucose information.
Here are some situations to understand.
This can occur when the system temporarily cannot provide a glucose reading.
Follow the instructions displayed on your reader and consult the official Abbott support resources if the issue continues.
A “Check sensor” message can indicate that the sensor may not have been properly applied or that the sensor tip is not correctly positioned under the skin.
Abbott recommends following its troubleshooting instructions and, when necessary, removing and replacing the sensor.
If your symptoms do not match the displayed sensor glucose value, do not simply assume the reader is correct. Abbott recommends using a fingerstick glucose test in situations where readings and symptoms do not agree.
The FreeStyle Libre system can work with compatible devices, but the reader and smartphone app are not identical in every feature.
Abbott specifically notes that the FreeStyle Libre 3 app and FreeStyle Libre 3 reader have similar but not identical features.
If you choose to use the reader, follow the instructions for that specific device.
Also, Abbott’s getting-started material states that you cannot use both the FreeStyle Libre 3 reader and the FreeStyle Libre 3 app to scan the same FreeStyle Libre 3 sensor for glucose readings.
For the most accurate information about your specific sensor and reader combination, use the current user manual supplied by Abbott.
Yes, the basic concept is fairly simple:
Wear the sensor → start the sensor → connect the reader → view your glucose → watch the trend → review your history.
The first setup may take a little time because you need to correctly apply and activate the sensor.
After that, checking glucose can become a simple part of your normal routine.
For someone newly using CGM technology, it may take a few days to become comfortable with the numbers, trend arrows, graphs, and alarms. That’s completely normal.
If you are looking for diabetes monitoring products, including glucose monitoring supplies and related medical equipment, Alfa Healthcare Supply Inc. provides medical supply products for customers who need dependable healthcare equipment and supplies.
Before purchasing or using any CGM product, confirm that you are selecting the correct sensor, reader, and compatible supplies for your specific system.
Learning how to check glucose with FreeStyle Libre 3 reader doesn’t have to be complicated.
Once the sensor is correctly applied, activated, and communicating with the reader, you can view your glucose information directly on the device. The current number tells you where your glucose is now, while the trend arrow and graph provide additional context about what is happening over time.
Most importantly, don’t become focused only on the number. Your symptoms, trends, treatment plan, and guidance from your healthcare professional all matter.
For official instructions, Abbott provides FreeStyle Libre 3 reader quick-start guides, reference guides, user manuals, and troubleshooting resources.
Once your FreeStyle Libre 3 sensor is activated and connected to the reader, turn on the reader and view the current glucose reading on the screen. The reader can also display the glucose trend arrow and graph. You generally do not need to repeatedly scan the sensor for each reading after initial activation.
No. After the sensor has been started and paired with the compatible reader, the FreeStyle Libre 3 system provides glucose information automatically.
The trend arrow provides information about the direction your sensor glucose is moving. It gives additional context beyond the current glucose number.
The FreeStyle Libre 3 system includes a dedicated reader, so you can use the compatible reader rather than relying solely on a smartphone. Abbott provides separate reader support and manuals for the FreeStyle Libre 3 system.
The reader includes a built-in blood glucose meter. Abbott states that compatible FreeStyle Precision Neo test strips and other required testing supplies are needed separately.
Use a fingerstick when the system indicates Check Blood Glucose, when your symptoms do not match the sensor reading, or when you suspect the sensor reading may not be accurate.
A single reading provides useful information, but looking at the trend arrow and glucose history can provide additional context. Your healthcare professional can help you understand what your readings mean for your individual diabetes management plan.
Follow the troubleshooting instructions provided by Abbott. A “Check sensor” message can indicate that the sensor may not have been applied correctly. If the problem continues, Abbott advises removing the sensor and starting a new one according to its support instructions.
Important: This article is for general education and does not replace the instructions that came with your device or advice from your healthcare professional.